
The video uses n8n, with a Google Sheet as the CRM. The steps are the same in
Zapier and Make.
Before you start
- Your automation tool can start a workflow when a new lead comes into your CRM.
- Your automation tool can send an HTTP request and receive a webhook.
- You have a phone you can answer for the test call.
Step 1: Create a sub-account without a CRM
The sub-account keeps a copy of each lead, so your agent can call it.1
Open the sub-account picker
Go to Sub-Accounts and click
Add sub-account. If you have no sub-accounts yet, the picker opens by
itself. Click Create one here.
2
Name it and set the timezone
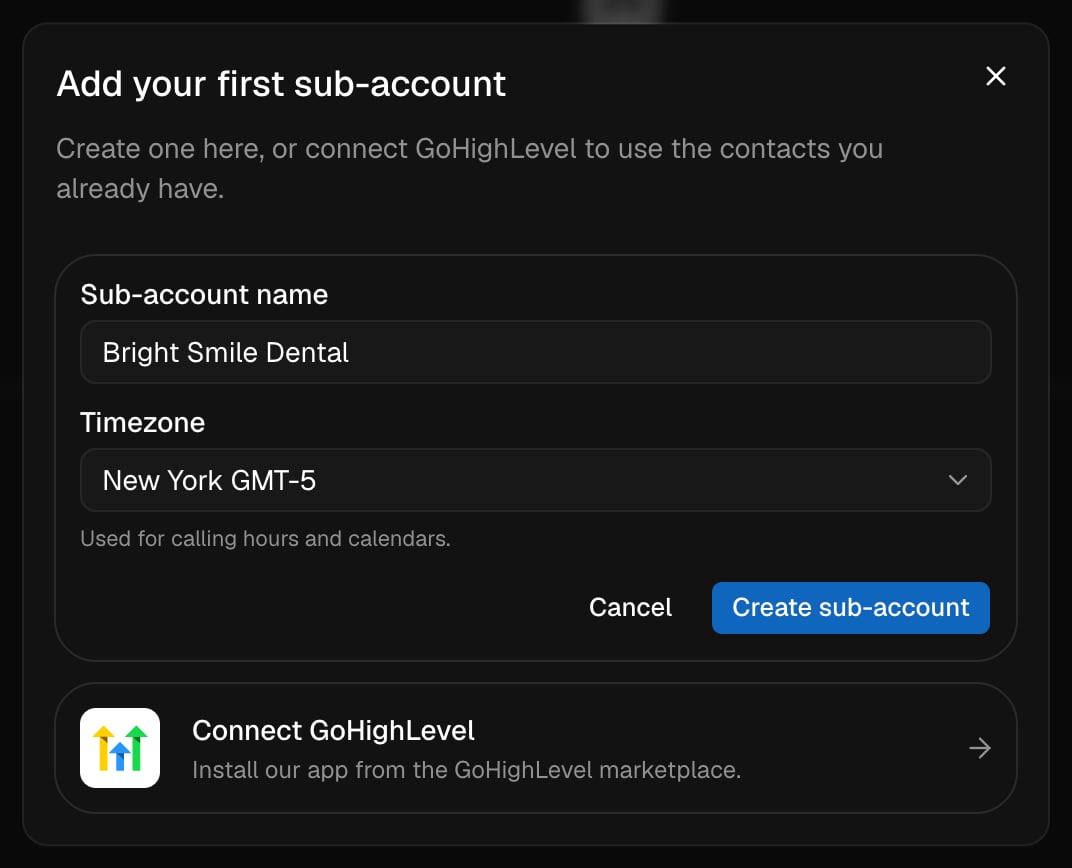
Enter the Sub-account name and the Timezone. The timezone sets the
calling hours and the calendars. Click Create sub-account.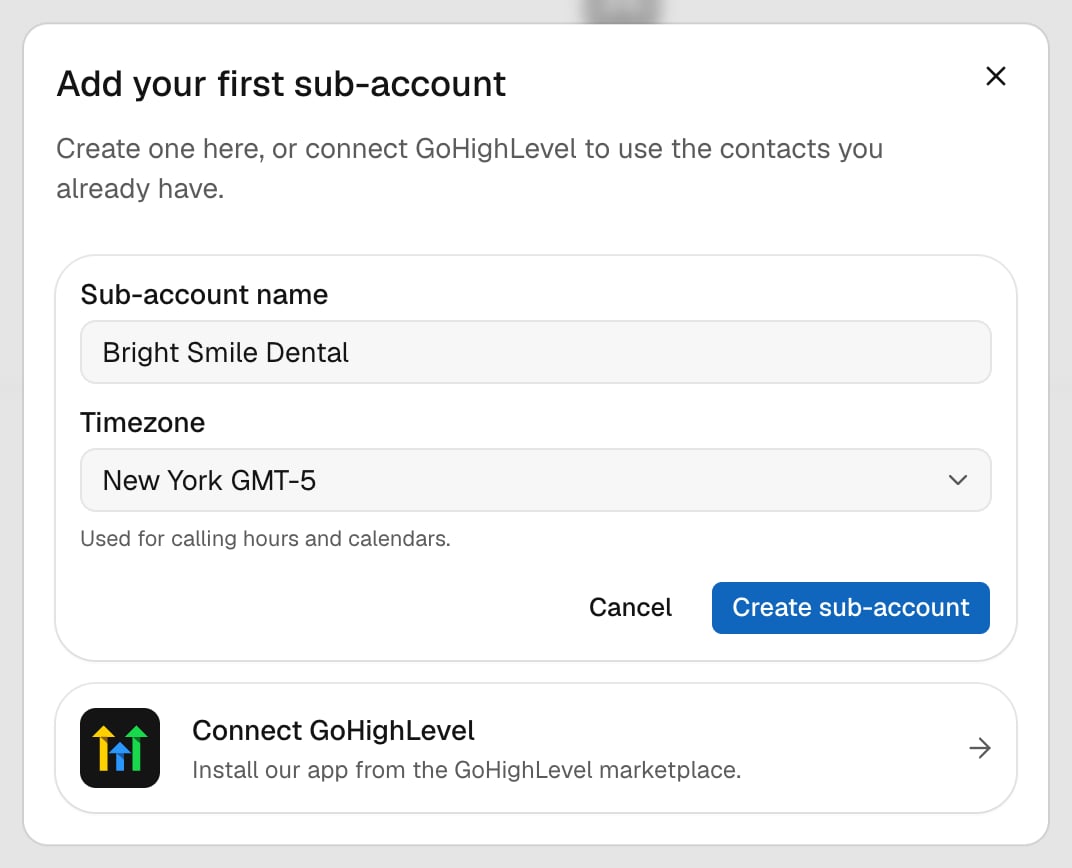
Step 2: Build your agent
Create a TFU Live agent in the new sub-account. On Home, you can tell Tars what the agent must do, and Tars builds it.Step 3: Call every new contact
1
Open the triggers
Open the agent and click Configure myself. It opens on Brain.
Click Actions. Next to Triggers, click Outbound.
2
Turn on Contact created
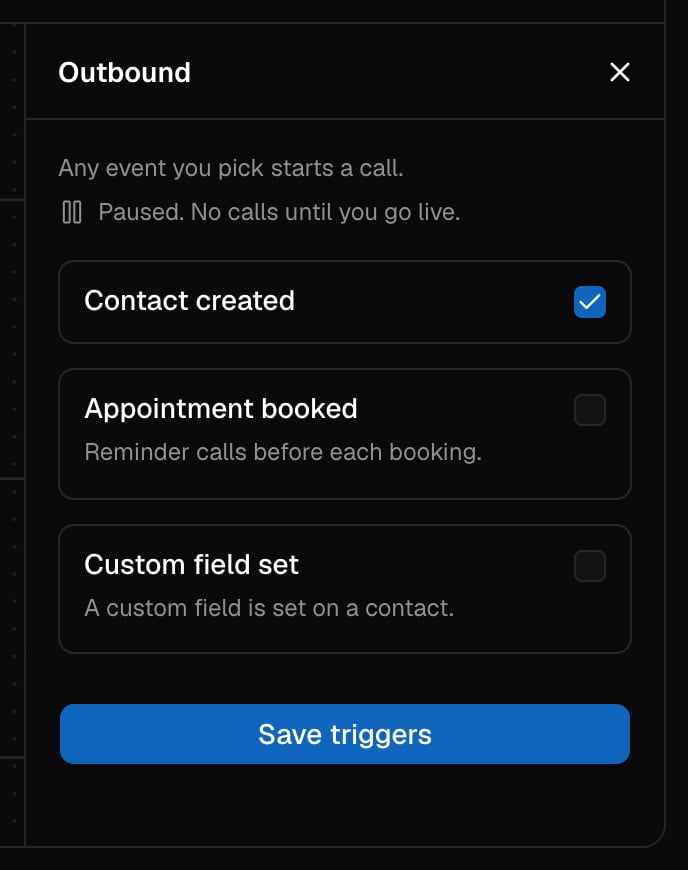
Tick Contact created. You see Call every new contact? Click
Turn it on, then click Save triggers.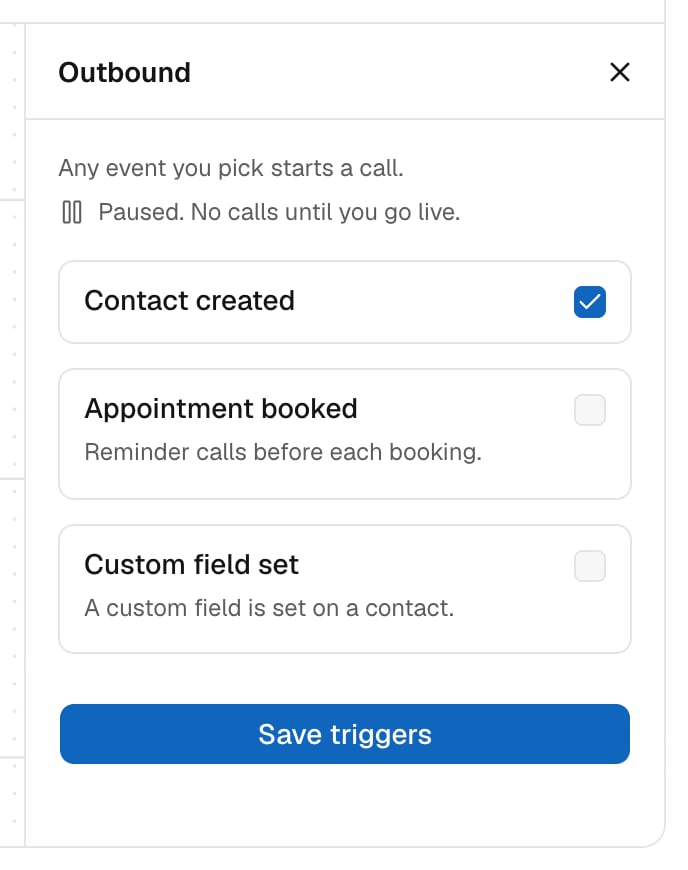
3
Go live
Click Go live. If something is missing, such as a calendar or a phone
number, the checklist shows it. Fix each item, then go live. See
Go live.
Step 4: Add your custom fields
Do this step only if you send more than the name, the phone and the email.1
Open a contact
Go to Contacts and open any contact.
2
Add the field
Click + next to Fields. Enter the Name. The video adds a field
called Reason. The Type is Text unless you change it. Click
Add to every contact.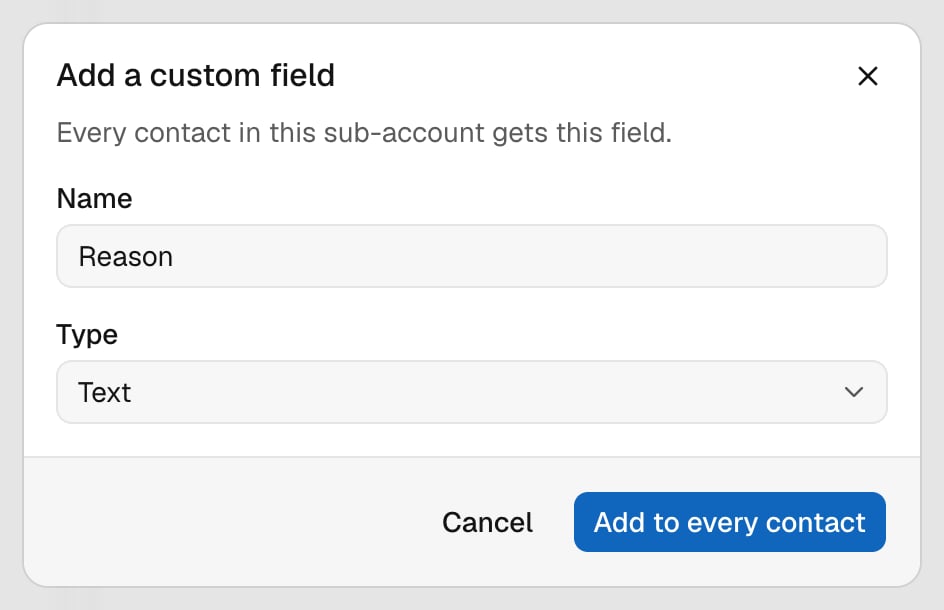
Step 5: Copy the lead link
1
Open API and webhook
On Contacts, click the three dots at the top. Then click API and
webhook.
2
Copy the link
Click A form, Zapier or Make. Under Link for forms, Zapier and
Make, click Copy.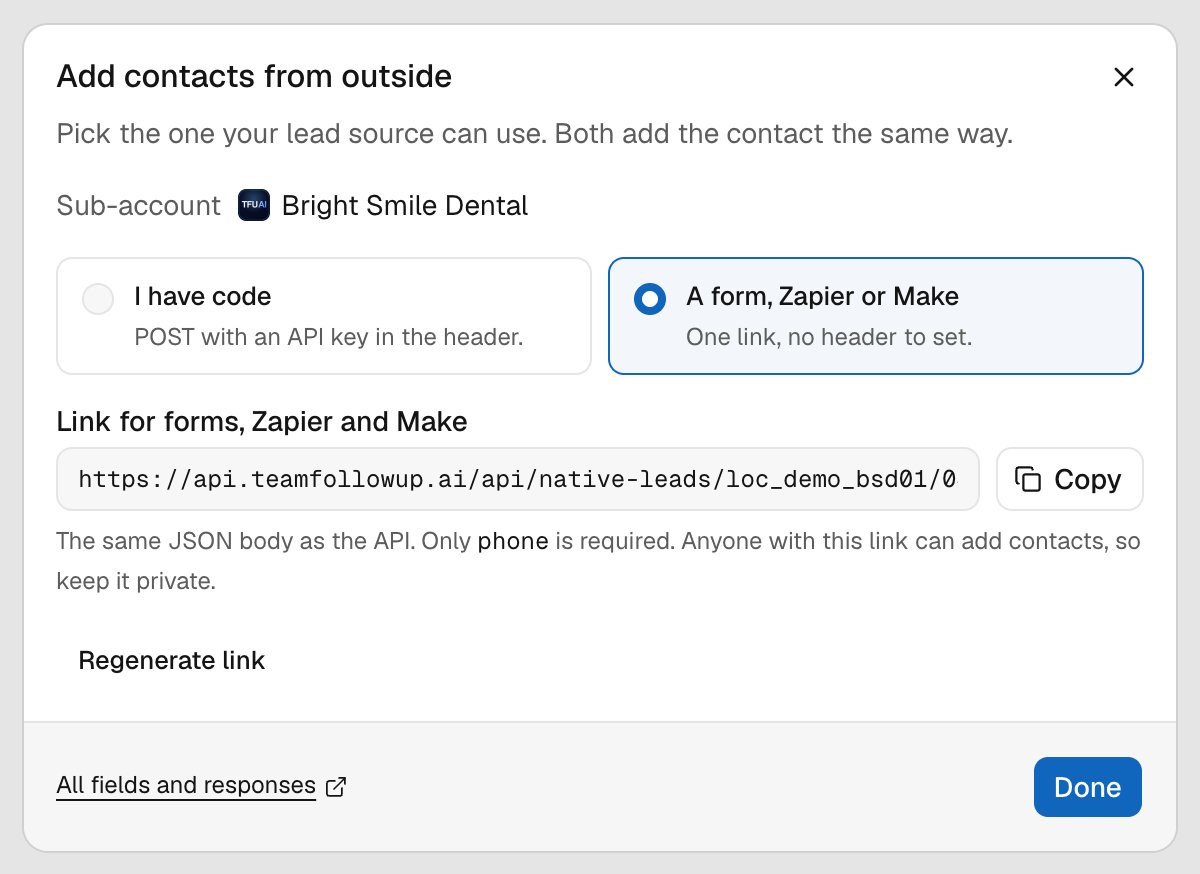
Step 6: Create an API key
1
Open API Keys
Go to Settings, then API Keys. Click Create key.
2
Choose the permissions
Enter a Name. Under Permissions, find Contacts and tick
Write. Click Create key.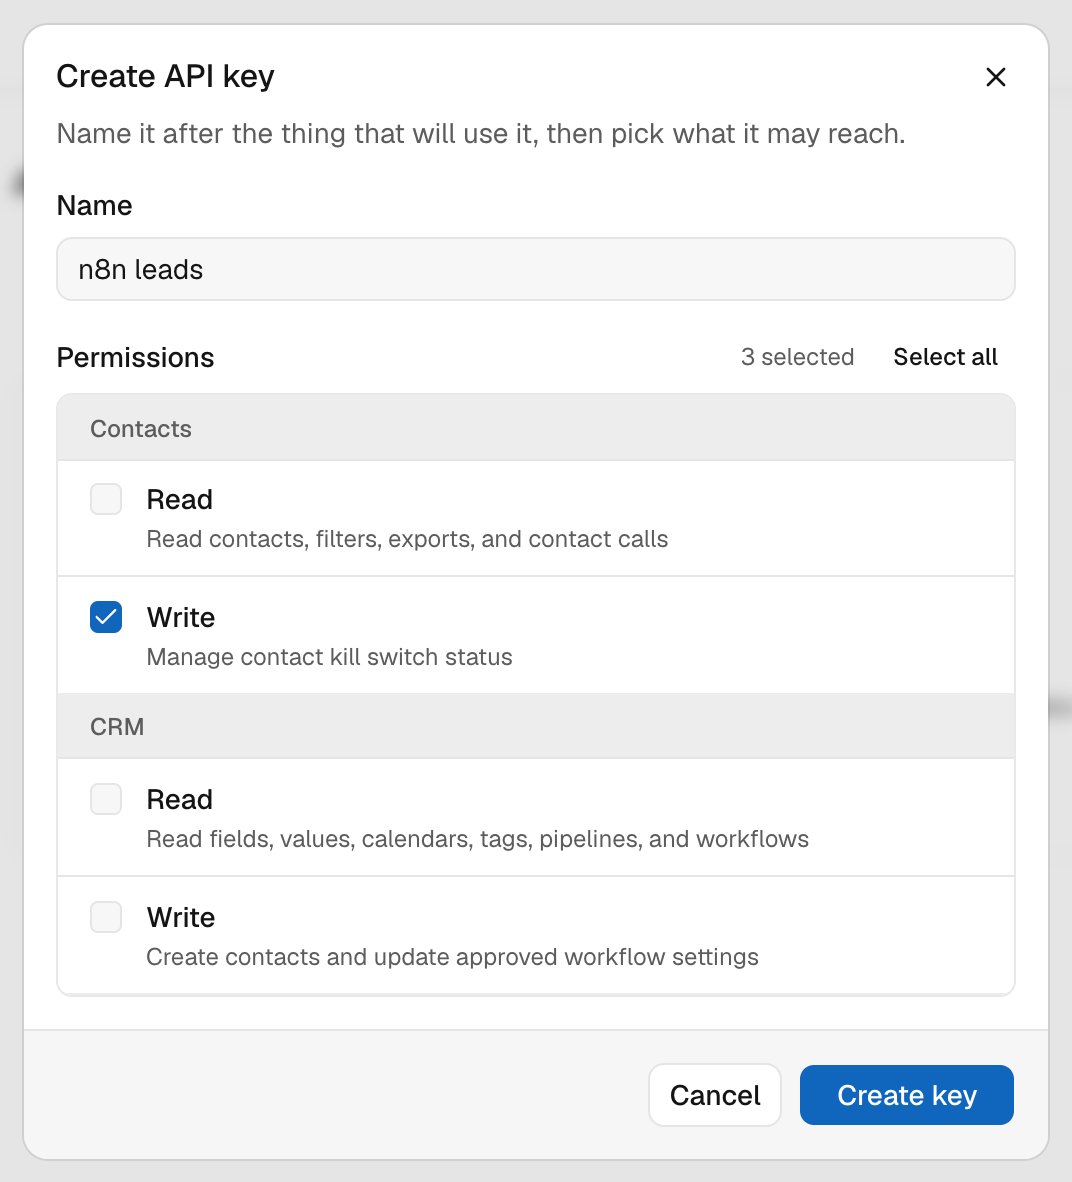
3
Copy the key
Copy the key before you close the dialog. It is shown only once. If you
lose it, rotate the key or make a new one.
Step 7: Send new leads to TFU AI
In your automation tool, make a workflow with two steps.1
Start on a new lead
Use your CRM’s trigger for a new lead or a new contact. Most CRMs have one
in Zapier, Make and n8n. For a Google Sheet, use the trigger for a new row.
2
Add an HTTP request
Search your tool for HTTP request and add that step. Set it up like
this:
3
Turn it on
Publish or turn on the workflow.
Step 8: Send the call results back
1
Start a second workflow
In your automation tool, make a new workflow. Start it with a webhook
trigger that receives a
POST. Copy its URL. In n8n, copy the
Production URL, not the Test URL.2
Add the webhook in TFU AI
Go to Settings, then Webhooks. Click Add webhook. Enter a
name and paste the URL into Endpoint URL. Keep 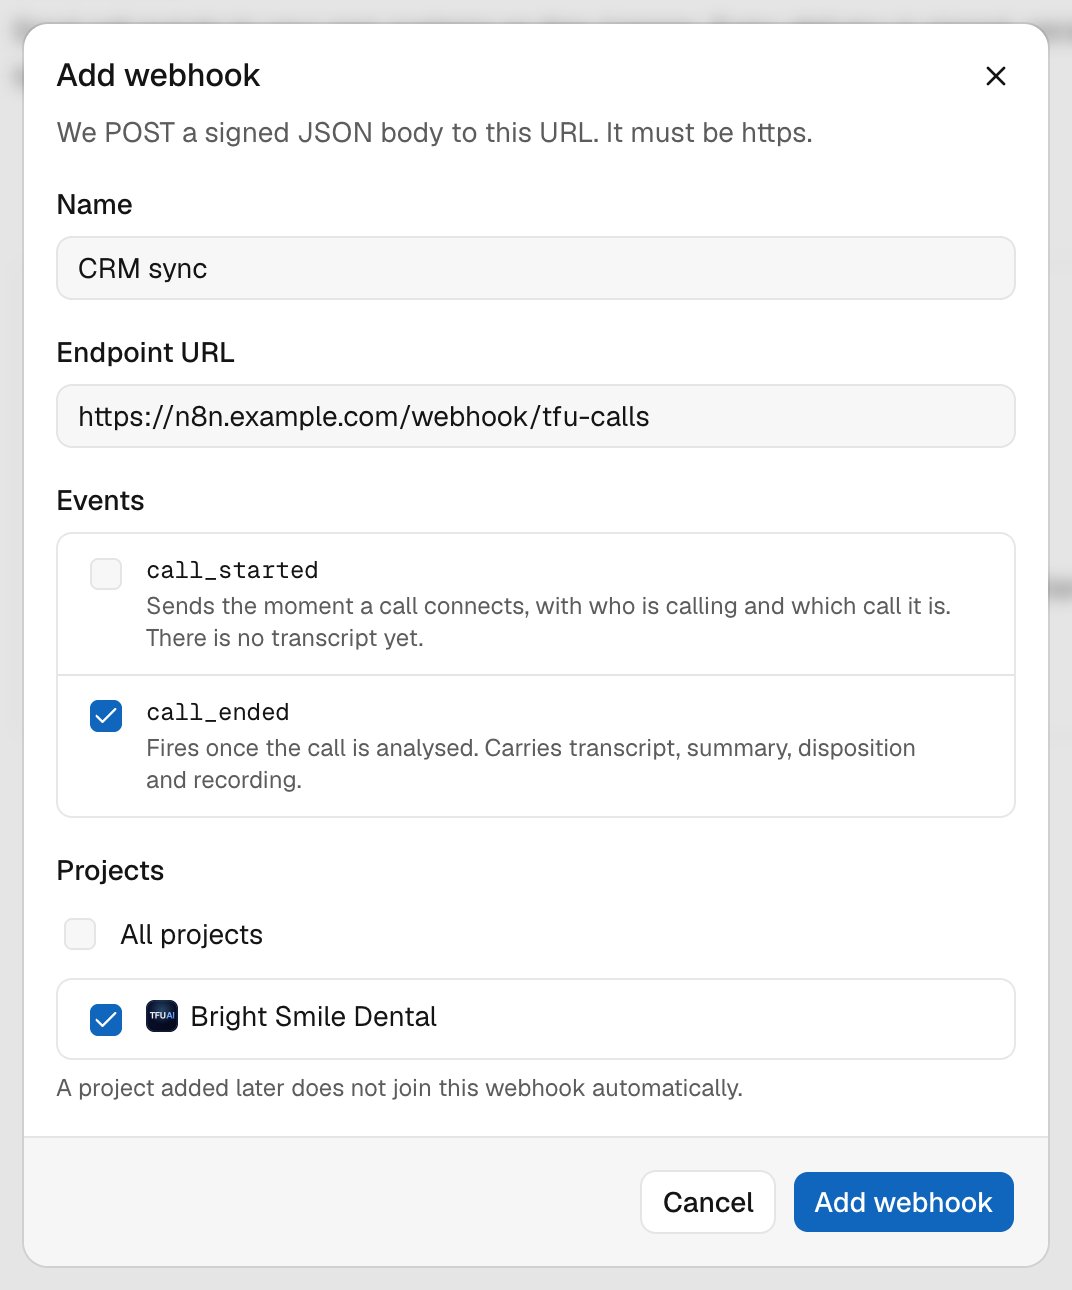
call_ended ticked.
Under Projects, untick All projects and choose your sub-account.
Click Add webhook.3
Send a test
Open the webhook and click Send test event. A sample call arrives in
your automation tool. Use it to map the fields.
4
Update your CRM
Add a step that updates the lead in your CRM. Find the lead by its phone
number or email, then write the call fields to it.
contact.id is the contact’s id in TFU AI, not in your CRM. Do not use it to
find the lead in your CRM.
Step 9: Test it end to end
Add a lead to your CRM with your own phone number. Your agent calls you. When the call ends, the summary and the transcript show in your CRM.Test calls from the agent builder do not send the webhook. Only real calls
do. To check the webhook alone, use Send test event.
Troubleshooting
The lead did not get a call
The lead did not get a call
Check that your first workflow ran. Check that the agent is live and that
Contact created is saved. A phone number that is already in the
sub-account updates that contact, and does not start a new call. To test
again, delete the contact first, or use a new number.
A custom field is empty
A custom field is empty
Add the field to the sub-account first, as in Step 4. The response to your
HTTP request lists the fields it did not save under
ignoredFields.The request is refused
The request is refused
A
404 means the link is wrong or was regenerated. Copy it again from
API and webhook. A 400 names the problem, such as a missing phone
or a phone number that cannot be read.Nothing arrives after a call
Nothing arrives after a call
Check the URL in Endpoint URL. In n8n it must be the
Production URL, and the workflow must be published. Check that your
sub-account is chosen under Projects. Open the webhook to see each
delivery and its response. A webhook that fails many times in a row is
turned off. Fix the URL, then click Re-enable.
Next steps
- Contacts without a CRM: what a contact holds and how the lead link works.
- Get the lead link: the same link over the API.
- How-to guides: more step-by-step guides.